[av_textblock size=” font_color=” color=” av-medium-font-size=” av-small-font-size=” av-mini-font-size=” av_uid=’av-kq2yddva’ custom_class=” admin_preview_bg=”]
Constructing a Koi Pond
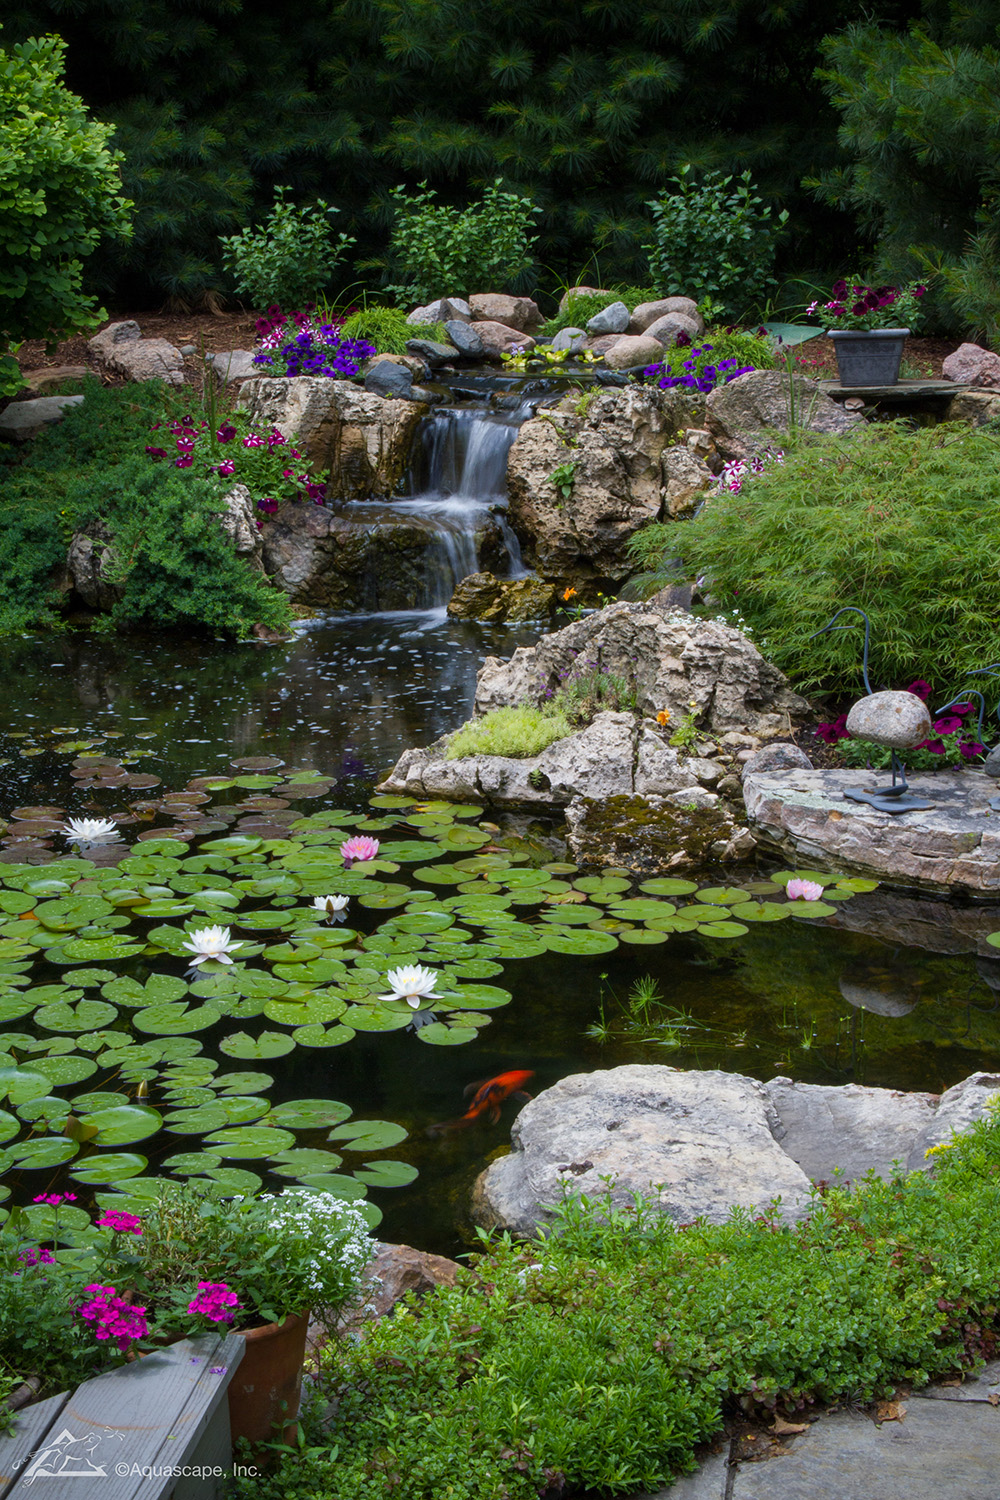
Once you’ve got the size and scale of your pond sorted out, you need to begin planning the actual construction. Most of the construction techniques you use will be dictated by the desired shape of your pond.
Ponds should be designed to avoid what is known as “dead spots,” where water doesn’t circulate appropriately because these spots can cause lasting health issues resulting from the buildup of toxins. To maximize circulation, people often use concrete blocks rendered and finished with fiberglass, which allows the corners to be rounded off and the pond to slope correctly, with water flowing toward the bottom drains. Properly circulating water remains oxygenated, so fish can flourish no matter where they are in the pond, and there are no dead spots to harbor disease or allow plant life to alter the pH.
Unfortunately, despite being the best construction method, this method is also the most expensive and may prove unaffordable for many hobbyists. If this is the case, there is no shame in resorting to a rubber pond liner and digging a hole. Just be sure to monitor the situation carefully and be aware of the issues we will now discuss.
What Makes Good Water Quality?
Good water quality is the main factor in successfully keeping koi, and pH, ammonia, nitrite, and nitrate levels in the water should be checked regularly. Ideally, the ammonia and nitrite levels should be zero, and the nitrate level should be kept below 50 ppm. Still, the decomposition of excessive organic matter (e.g., as a result of overstocking and/or overfeeding) can cause these levels to rise too high, so they must be monitored closely.
Concerning pH levels, anywhere between 7.0 and 8.0 is acceptable, but you want to aim for 7.5. Anything below 6.0 can lead to acidosis disease, and anything above 9.0 can cause alkalosis. As an additional point: when you’re adding water to your pond, never use straight tap water, as it contains toxic levels of chlorine or chloramine. It must first be treated to neutralize those chemicals.
Your pond’s water parameters should be monitored regularly using testing kits. If testing reveals any issues, you should carry out a water change as quickly as possible. Changing the water will lower dissolved pollutants, but you shouldn’t get carried away trying to change the entire supply. Changing more than 50 percent of the water in the pond will shock the fish, causing further problems. When changing the water in response to a water-quality problem, it is advisable to avoid feeding the fish, as this will help you isolate the cause of the problem. Overfeeding and overstocking, especially while the biological filter is still maturing, are the most common causes of water-quality issues in koi ponds, so be careful.
Minimizing dissolved pollutants and maintaining a constant pH level aren’t the only water quality issues you will face; you must also ensure that your water is at the correct temperature. A water heating system is preferable for koi, but it may not be essential. If you live in a cold region, the koi will hibernate underneath surface ice if necessary. They can live in this fashion for several months. Still, it is not their preferred way of living, so you should seriously consider a water-heating system that will maintain the pond at more ideal temperatures for the koi’s well-being and growth.
Filtration: Keeping Your Pond Water Clean
To keep the water quality at the appropriate level discussed above, you’ll need a koi pond with a bottom drain that continuously gravity feeds to the filter system. Continual gravity feeding allows for the purging of anaerobic sediment, which poses a threat to the sustainability of the fish while leaving most of the big stuff fully intact in the settling phase of the filtration system. By using gravity-feeding systems, you ensure constant water circulation, and this means that your fish are less likely to succumb to disease because of the presence of the harmful chemicals discussed above. Of course, a bottom drain alone isn’t enough; you’ll also need an adequate filtration system that incorporates the following elements:
1) Settling Chambers
A vortex/whirlpool is the most efficient settling chamber design. Water will enter this system on an angle two-thirds of the way down the container, which will, in turn, create a swirling motion that forces the larger pieces of debris to the sides. After this, gravity will draw them down to the pond’s bottom, where the purge line will enter the purpose-built container. This makes cleaning simple because when the debris has built up to a sufficient level, you can easily pull the knife valve to get rid of the waste. For most koi ponds, this container should be a minimum of 40 inches (102 cm) in diameter and 40 inches deep.
2) Mechanical Filtration
A mechanical filtration system will extract suspended debris from the water as it passes through the filtration medium. To be effective, it must be situated directly in the path of the water flow. Cylindrical brushes (around 4 inches [10 cm] in diameter) work best and, ideally, you want them to be made of a steel core and nylon bristles. To ensure maximum exposure, you’ll need around four rows of brushes, and you’ll want them to overlap slightly. They will also need to be cleaned regularly to ensure proper functionality.
3) Biological Filtration
Biological filtration allows beneficial bacteria provided by Mother Nature to convert harmful ammonia and nitrite into less toxic (at lower levels) nitrate. The population of these helpful nitrifying bacteria must be sufficient to keep pace with the decomposition of fish waste, uneaten food, and other organic material in the pond, so this is a delicate balance to maintain. That’s precisely why overstocking and overfeeding a pond are among the least helpful things you can do as a koi owner. To see whether biological filtration is working effectively in your pond once it has been stocked, you’ll need to make regular use of simple, inexpensive, and practical test kits.
Choosing the Right Filter Size
The size of these filter systems is crucial, and you’ll need to consider several factors when determining what will work best for you. Most filtration systems will state the size of the pond they’re rated to filter, but be aware that this doesn’t tell the entire story. For instance, an approximately 2- x 2- x 3-foot (60- x 60- x 90-cm) box may say that it can take care of 6000 gallons (23,000 liters) of water, but this would be true only if the pond contained just a few fish (indeed no more than 5). For this reason, when you’re looking for filters, you should also ensure that you ask how many 20-inch (50-cm) fish the filter can support when they’re fed typically. By balancing the size of the pond with the volume of fish, you’ll ensure that you can sustain your koi with minimal risk of exposing them to harmful chemicals. Purchasing this filter system before populating the pond will ensure that, if checked regularly, your pond will be a sustainable habitat.
Therefore your filtration system and testing kits should be the first things you budget for when planning a pond. Pond supply retailers are the perfect place to go for quotes on filtration systems, testing kits, and other supplies, and they will help you factor in the overall cost for your pond before you start building. Always factor in all potential expenses in your early planning stage so that you’re not caught by surprise later on.
There is no doubt whatsoever that koi are among the most graceful and attractive fish to keep. Because they live for around 15 to 20 years, they’re ideal companions that you can lovingly nurture. However, if you fail to look after them properly, they’ll never live to their full potential and will suffer. Hopefully, if koi are in your plans, this guide has provided a good starting point for planning your pond and ensuring that your koi are given the best possible care.
[/av_textblock]
[av_contact email=’orders@aquascapes.com’ title=’Have a question? Ready to install? Contact us!’ button=’Submit’ on_send=” sent=’Your message has been sent!’ link=’manually,http://’ subject=” autoresponder_email=’orders@aquascapes.com’ autorespond=” captcha=’active’ form_align=’centered’ color=” av_uid=’av-kq2ys25i’ custom_class=” admin_preview_bg=”]
[av_contact_field label=’Name’ type=’text’ check=’is_empty’ options=” multi_select=” av_contact_preselect=” width=”][/av_contact_field]
[av_contact_field label=’E-Mail’ type=’text’ check=’is_email’ options=” multi_select=” av_contact_preselect=” width=”][/av_contact_field]
[av_contact_field label=’Subject’ type=’text’ check=’is_empty’ options=” multi_select=” av_contact_preselect=” width=”][/av_contact_field]
[av_contact_field label=’Message’ type=’textarea’ check=’is_empty’ options=” multi_select=” av_contact_preselect=” width=”][/av_contact_field]
[/av_contact]