How to Calculate a Pond Pump’s Electricity Cost

When we choose a backyard pond pump, one of the important things to know it how much it will cost to operate it. Most backyard pond pumps run 24 hours daily, 7 days weekly, so the electricity costs can mount up fast. It is relatively easy to find out how much it is going to cost to run your pump.

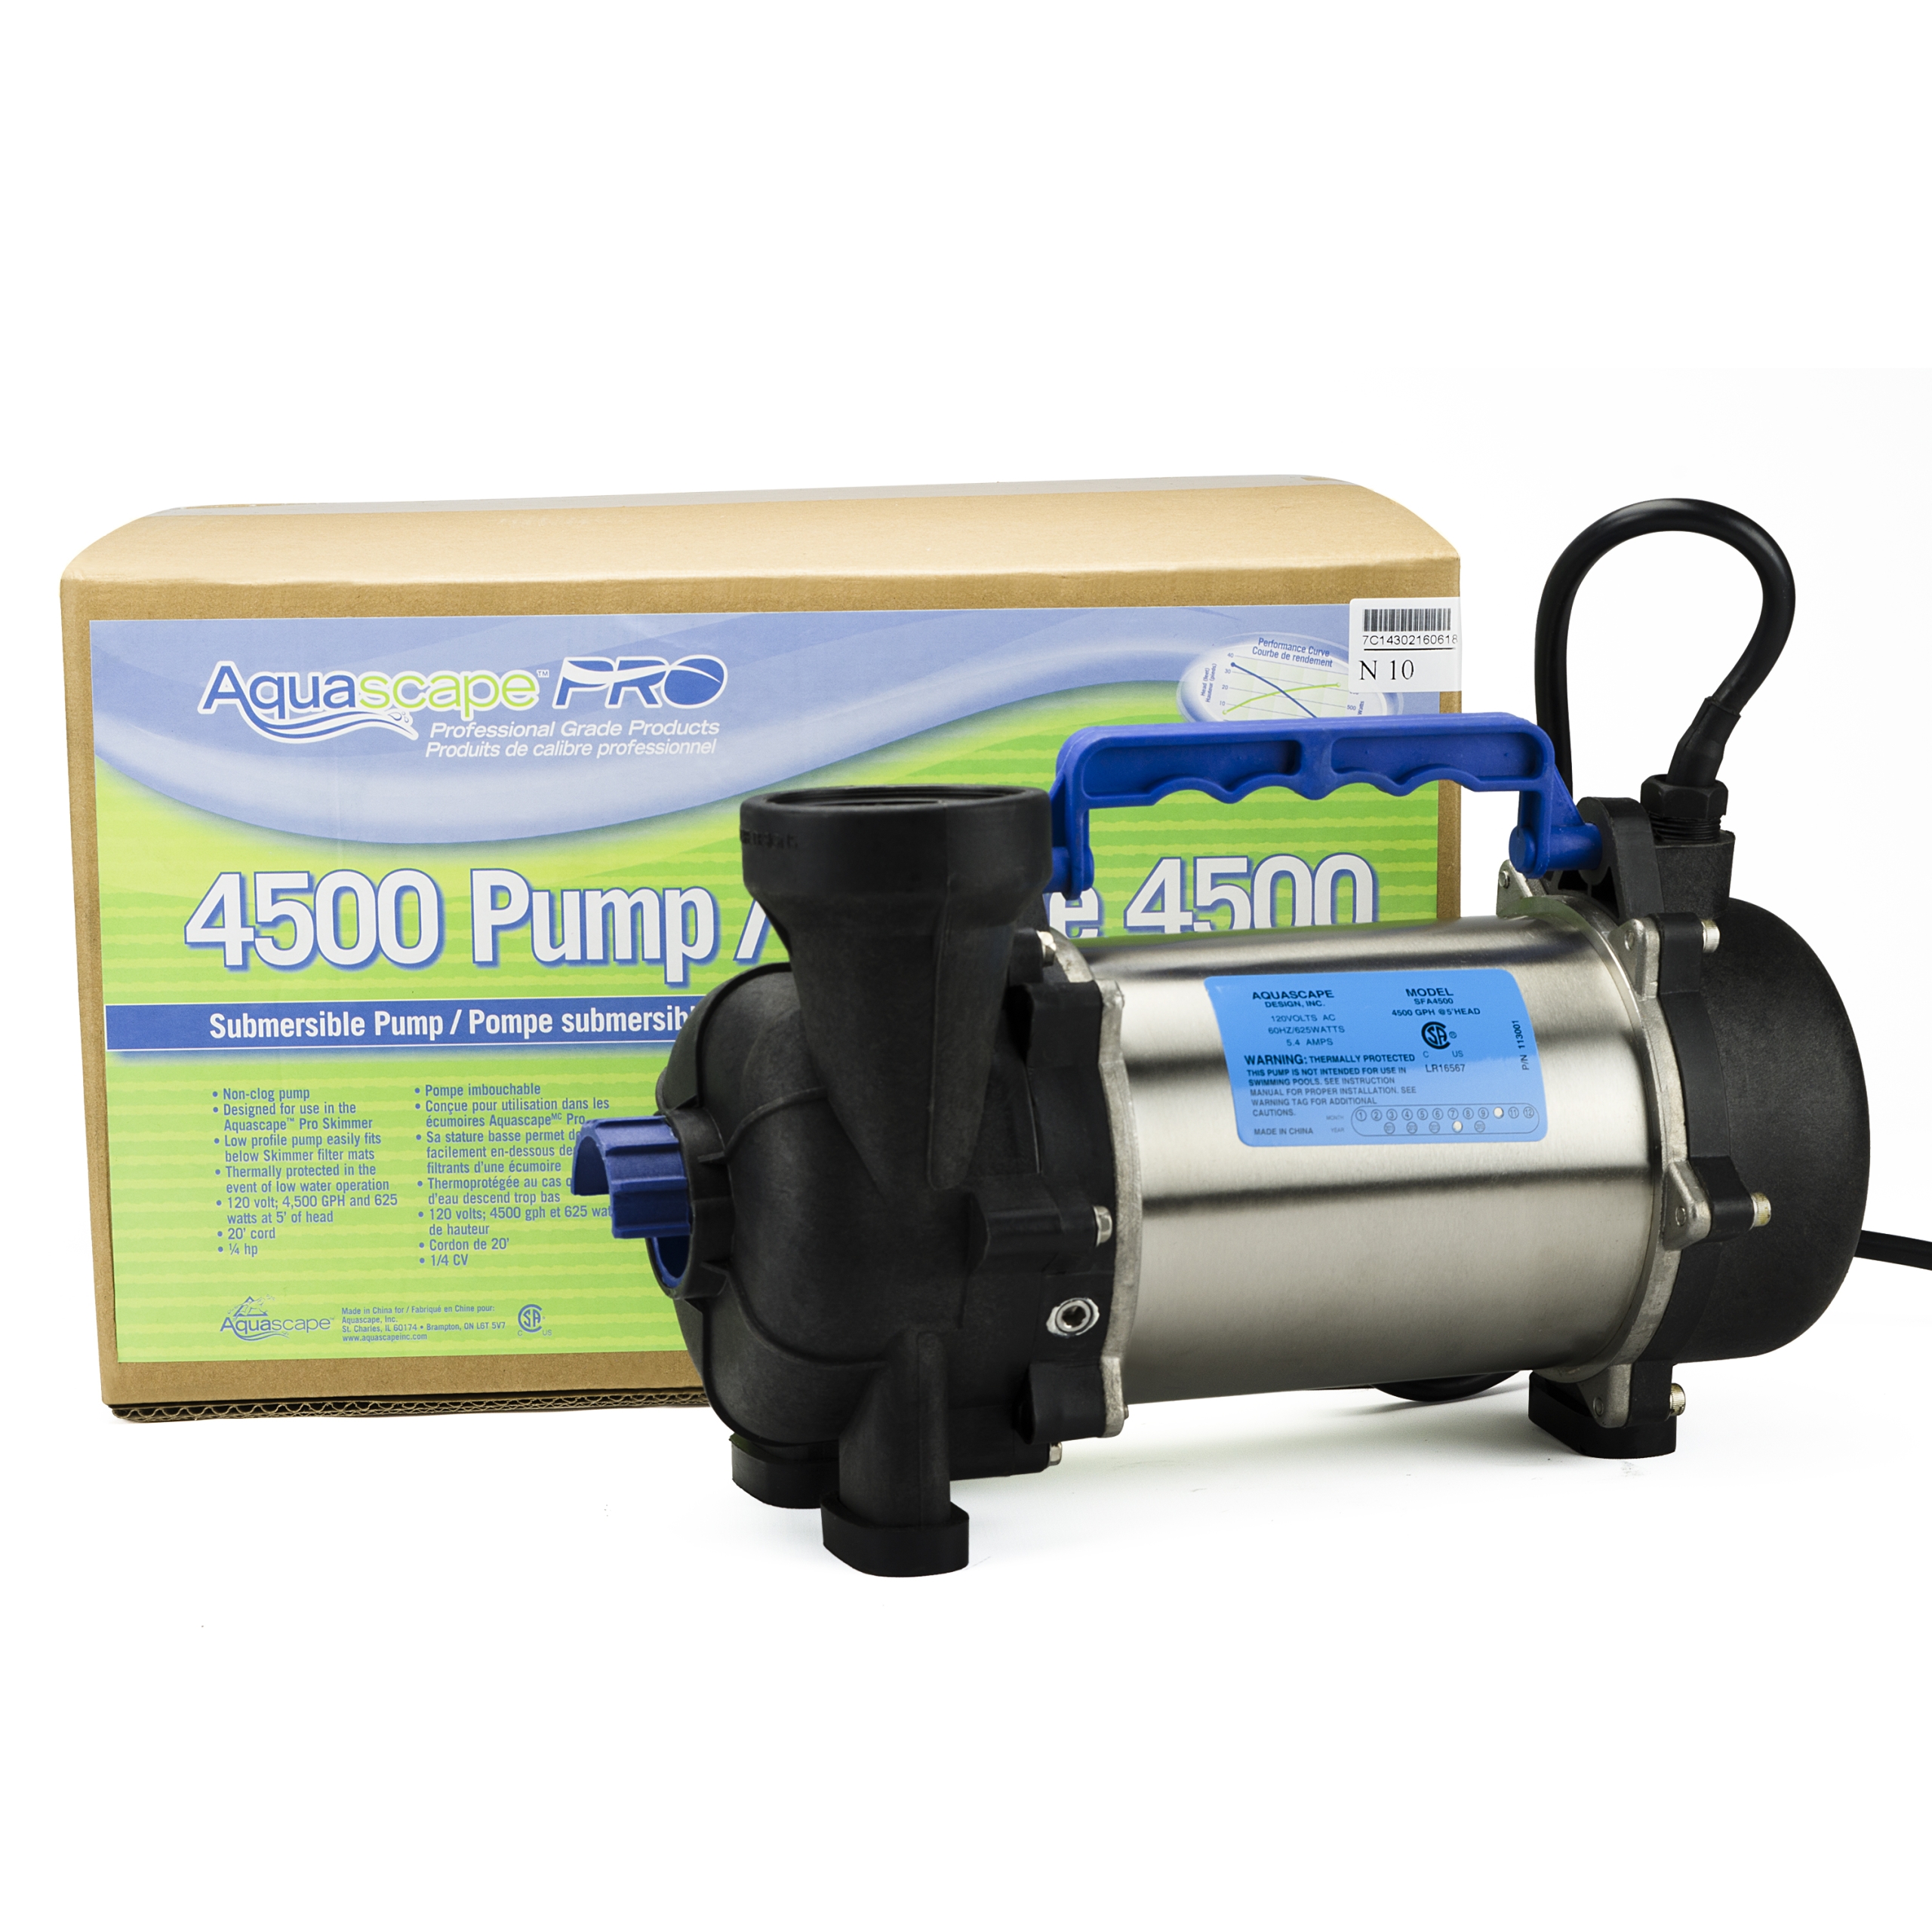
  • For illustration purposes only. Based on $ 0.10 per Kilowatt Hour and 12 months continuous use. Your actual costs may vary depending on your cost per KWH, head height, tubing diameter and actual use.

  • Watts divided by 1000 = Kilowatts x $ 0.10 per KWH (Kilowatt Hour) x 24 hours x 365 days.

Troubleshooting Leaks in Your Pond/Pondless Waterfall

Does your pond actually have a leak?

You may not realize how much water can evaporate from a pond during the dog days of summer.

The midwestern states typically lose 1 to 1 1/2 inches of water each week. In Arizona for example, it is reported that evaporation rates are in excess of 3 inch a week.

These are averages. Some ponds may not experience evaporation levels this high, while other ponds with large pumps pushing high volumes of water or ponds with multiple waterfalls and lots of cascades and splashing on rocks, have higher evaporation rates.  The larger the pump gph the more water you can lose.

Do not try to investigate a leak if the ground is wet from a rainfall.

1. The most common leak is one that is created from low edges. Here’s a little secret,99% of all leaks are not due to a hole in the liner. Settling at the pond’s edge is the most frequent cause especially in new ponds. Look around the stream and waterfall for areas that have settled. Look for wet mulch or wet gravel along the edge.

How to fix a low edge?

Simply build back up by backfilling and compacting the soil beneath the liner. Thus raising the edge of the liner above the water level.

2. Look for obstructions in the stream and waterfalls. If you have adjusted some of the rocks to improve the look you may have caused some of the water to be diverted over the liner. Also look for excessive plant or algae growth in the stream allowing water to make it over the edge. If you use Hyacinth in the biological filter, remove some occasionally as the volume of plants raises the water level and will allow some water to leak over the back or side edge of the BioFalls.

3. Can’t find the leak yet?

Shut down the pump and leave it for 12 or more hours. After 12 hours check to see if the water level has dropped. We recommend you use a small aerator to provide oxygen to the fish.

If it has dropped, you now know the leak is in the pond. If it remains the same, it is in the stream or waterfall.  Read on..

If the leak is in the pond.

Leave the pump off and wait until the water level stops dropping. This could take several days. This will determine the height of the leak. If the water level stopped below the bottom of the skimmer face plate, you can rule out the skimmer and concentrate elsewhere. If the water level is above the bottom of the face plate, you should investigate the skimmer. It may have not been sealed properly or if sytem is over 5 years old, it may be time to reseal the skimmer to the liner. But don’t tear apart the skimmer face plate yet.

If the Leak is in the Skimmer.
At this point you may want to call the contractor who installed the pond. However, if you are brave enough to search further, then read on.

Investigate the skimmer face plate without disassembling it. Simple move a few rocks around the front of the skimmer and slide you hand behind the liner. Feel for wet soil around the opening of the skimmer.

If it is dry, it is most likely not the skimmer.

–If the soil is saturated, then the face plate may NOT have been installed properly and might be the source of the leak.

–Remove the face plate, clean all of the old silicone off the liner with a plastic scrubber and refer back to the instructional manual on proper procedures for sealing the skimmer face plate to the skimmer. Use Black Silicone to seal the skimmer to the liner.

If it’s not the Skimmer.

Investigate the liner for small punctures around the perimeter of the pond where the water level has stopped.
The only way to find this type of leak is to move rocks and gravel and search by hand and eye. If the leak is found, you can fix it using the Patch Tape.

Is the leak in the Biofalls or Waterfall?

If your water level did not drop over the past 12 hours, this immediately tells you that the pond is not the source of the leak.

First, turn the pump back on and get the water flowing.
Double check that all the edges are high, and any stream liner overlaps into the pond properly. Or if you had installed with liner seams, check this area out.

Check the seal on the lip of the Biofalls. Again, simply move a few rocks and dirt if necessary to allow your hand to slide behind the liner. Feel for wet soil.

If it is dry, it is most likely not the Biofall seal to the liner.

If it is saturated, or you feel water leaking, then the lip needs to be resealed.

Cause of leaks at the Biofall seal.
1. Seal was done incorrectly or the liner was stretched or pulled too tight while setting rocks for the waterfalls. Also, after 5 years, it is possible your seal has deteriorated and needs to be taken apart and resealed.

2. Always make sure you allow some extra liner along the front of the Biofalls to prevent stress on the Biofall seal.

If necessary, reseal the Biofalls by removing the lip. Clean all of the old silicone and waterfall foam off the liner and refer back to the manual as to the proper procedure for sealing.

Still can’t find the leak!

Investigate the rest of the stream and waterfall. At this point, you should be looking for a hole in the liner.

If you have a long stream, you can divert the water using a hose and begin running water from the hose down the course 5 feet from the pond. Watch the water level, if level has not dropped then move the hose 5 feet more up the course. And you do this until you see a drop and can isolate the leak to a specified 5 foot area.

Still can’t find the leak, are you sure it was not evaporation. Just kidding, of course. It may be time to call that contractor.

Hope you find that leak!!!

Aquascapes.com

Pond Management – Spring Start Up of Your Aerators


If you turned your aerator off and stored it for the winter they are a few quick steps you can take to have your aeration system prepped and installed for the spring. If your winter has been anything like ours, spring already seems upon us.

Here’s 4 ways to prep and install your aeration system for spring.

1.)  Change the air filter: The air filter is vital for providing clean air through the compressor. With a clogged air filter, performance diminishes and over time can cause irreversible damage to the compressor. We recommend changing your air filter every 3-6 months depending on the environment.

2.)  Check for Air: Before installing the unit and connecting airlines it is best to do a quick check for air. Turn the unit on and ensure air is coming out of the flex hose(s). If you have a multiple diffuser plate system, make sure that the valves are not completely shut off. In the event where air is not coming from the flex hoses, you may need a maintenance kit to replace the diaphragm.  Call 877 780-1174 for more information and pricing on replacement parts.  Some newer diffusers are self cleaning.

3.)  Reinstall the unit: To reinstall the unit, you’ll want to re-position the cabinet so it is sitting level, reconnect the airlines and plug it in. Adjust the airflow as needed, which you’ll need to do anyway if you have multiple diffuse plates. Adjust the flow so each air plate receives equal amounts of airflow and keep in mind that longer runs and deeper plates will require more airflow to operate than shallow plates and shorter lines. It usually takes a few minutes between adjustments to see the effect at the diffuser plant, so be patient!

4.)  Proper start up: Introduce your aeration system slowly in the beginning, and gradually increase its running time each day. Start by running it for an hour the first day, two hours the second day, doubling the amount of time each day until you can successfully run it for 24 hours. If you run the system immediately for 24 hours upon returning it to the pond, you could cause the warm and cold layers of water to mix too quickly which may harm fish.

These quick steps will ensure your aeration system is back up and running to keep your pond clean, clear and healthy for years to come.

Ready to install? Want to make a purchase? Send us a message!