How To Install A Pond Filter
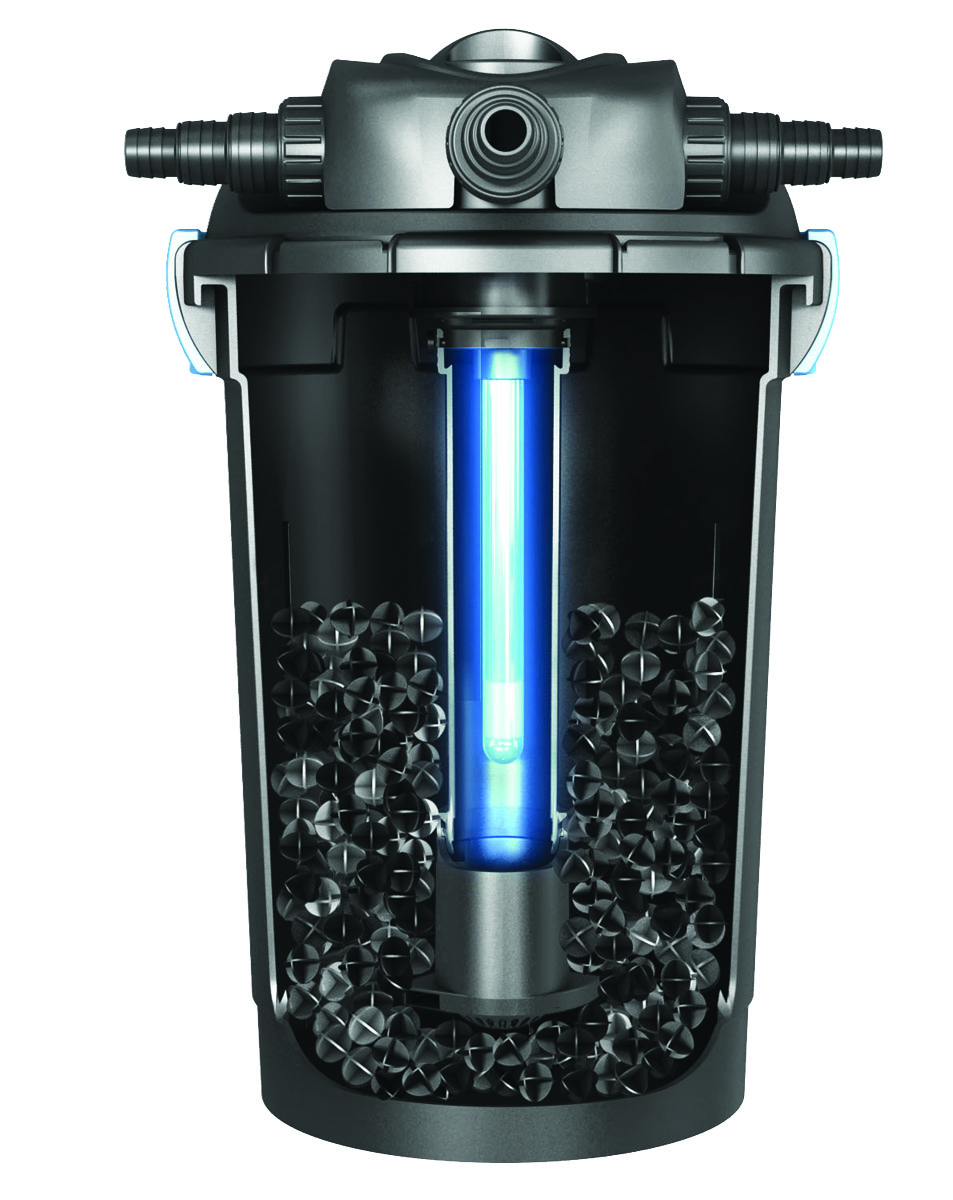
You may find a pond filter as an accessory when you purchase a pond. If not, the next option would be to have it custom-made at a supply store or to construct one yourself from your favorite equipment. The latter is only recommended if you are very experienced in these matters as they may be more dangerous than simply buying a pre-made pond filter. In any case, once you have obtained the equipment that makes up the installation of your filter it is now time to put those pieces together and into action!
First things first: get your hands on some type of bucket or another container that will act as the holding tank for all of our water filtering through this contraption. I went to my locales and purchased their cheapest 5-gallon bucket for only $3.00 dollars. Then measure your distance from the water source to the point where you will pour in your liquid after running through all of the filtering equipment. This is important because it is at this location that you are going to have to construct a method of support that will hold up both our filter and our holding tank. Get creative here! I prefer using PVC piping, so I constructed a stand with one 90 degree elbow using 2 elbows with 1/2″ threaded ends, two 1/2″ threaded female-to-female couplings, and four cross fittings per leg–four legs in total–with 4 x 6-inch threaded fittings each end. These pieces were then connected into four 6″ sections of piping using 1/2″ threaded male-to-male couplings.
As you can see, this is nothing more than plain old PVC piping that I got at the local hardware store; however there are several possibilities for your support method. If you want to build a stand like mine make sure to get everything nice and secure before continuing on to the steps below.
With all of our equipment in place it is now time to connect our filter up! First, attach the 3-pronged tubing adapter onto your pump fitting inside your bucket or container with the appropriate size rubber gasket which came with your purchase. Then, screw into that one end of your black garden hose using yet another rubber gasket at the end of it.
When you are done, screw one end of your black-to-white tubing adapter into that end and attach the other end of our garden hose to the wall fitting of our filter canister. Once we have done this we will need to attach a 3-pronged tube connector with three prongs attached at even intervals from one another onto our pump fitting on top which is yet again attached using a rubber gasket. Screw in all four pieces together and secure by carefully tightening them down with an adjustable wrench if necessary. This completes the attaching of your equipment…now for some water!
First off, place your hands inside your container/bucket and slowly pour in about 1/2 gallon of water to get things started. This will be the water that you are going to use to closely examine for leaks– this is very important because if one should leak, it could send some sharp pieces of PVC into your face or other body part! I prefer taking a piece of duct tape and wrapping it around my finger before sticking it into the end of our garden hose attached to our filter canister in order to check for leaks while pouring in more water through our tubing connector. Once you have checked everything for sharp-edged leaks pour another gallon of water through your system while again using the piece of duct tape wrapped around your finger inside the garden hose which is on top of our filter canister. If all goes then congratulations! Your pond filter is complete and all you have to do now is find an appropriate location for your pond.
Thanks for reading at Meyer Aquascapes! We hope you’ve enjoyed our post on garden pond design. Please leave a comment below if you liked it or have any questions. We’d love to hear from you! Thanks for stopping by!


