Natural Backyard Swimming Pond Installation Tips

These eco-system swimming creations are environmentally-friendly and will protect you.

If you care about the Earth, or if you hate the way your skin smells and feels after swimming in a chlorinated pool, consider going au naturale.

What is a swimming pond?

Split 50/50 to accommodate vegetation and swimming, its been dubbed the swimming pond as the new and improved backyard pond.

The plant section of the pond is around a foot deep, while the swimming area typically ranges from six-and-a-half to eight feet deep. Timber usually separates the two zones.

water garden construction

How clean is it without chemicals?

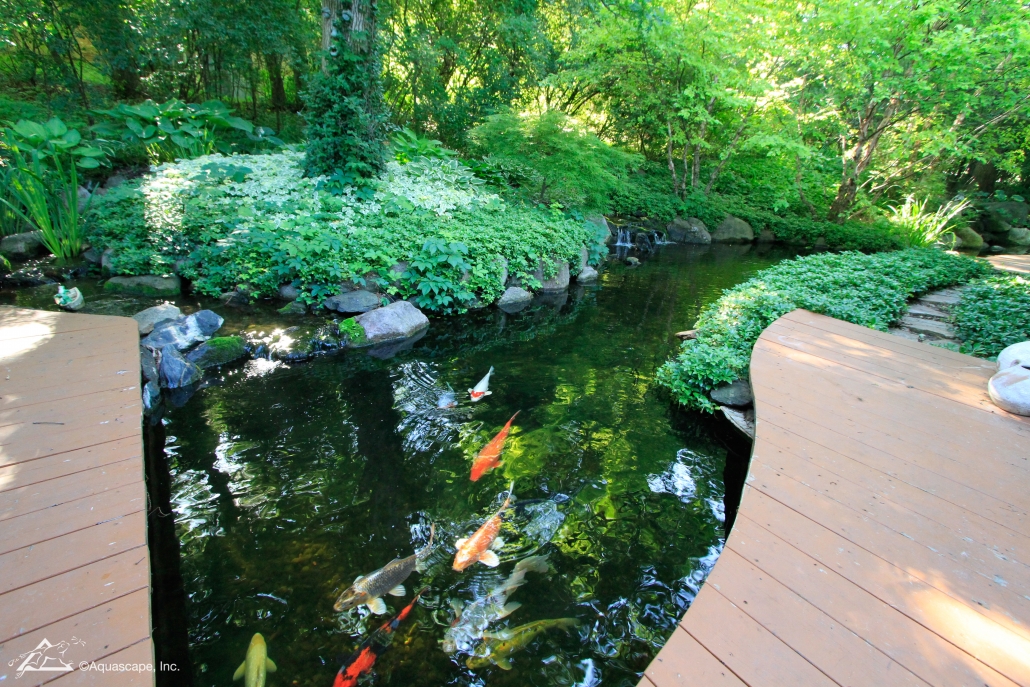
Very. The regeneration portion isn’t just there for ambiance, it’s also the pond’s natural filter.

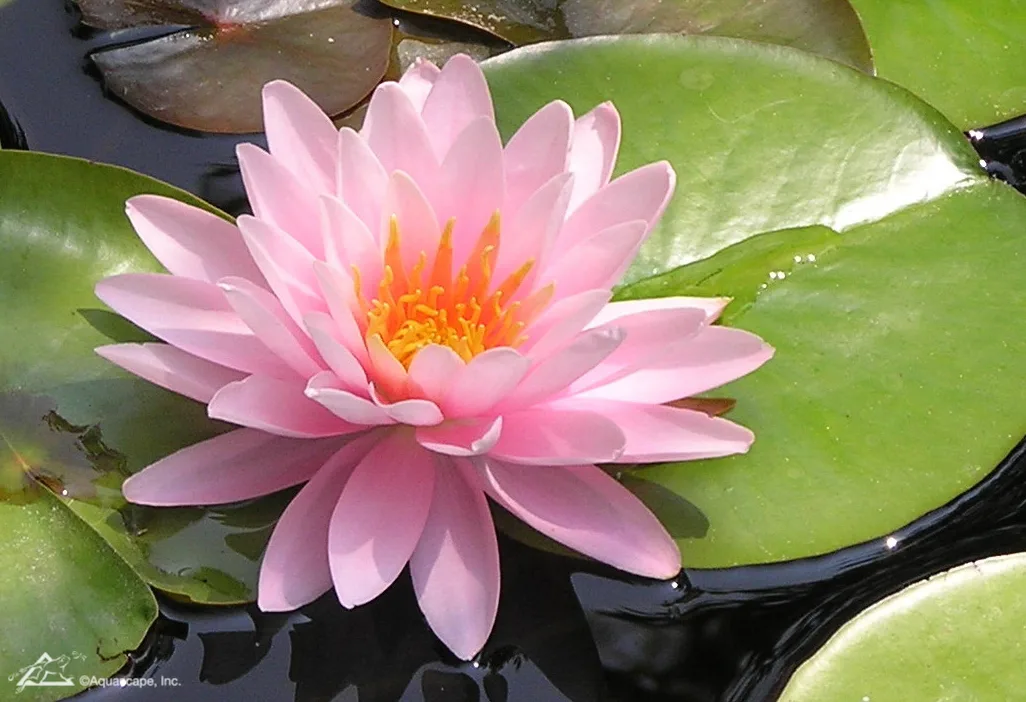
Plants like flag irises and water lilies keep phosphate levels in check while getting rid of nitrates so there’s no algae. Gravel also plays a role in filtering the pond.

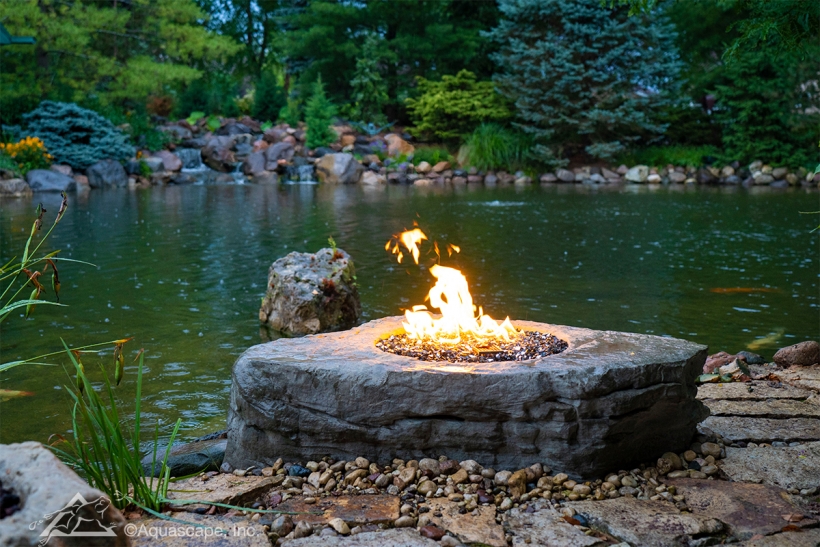
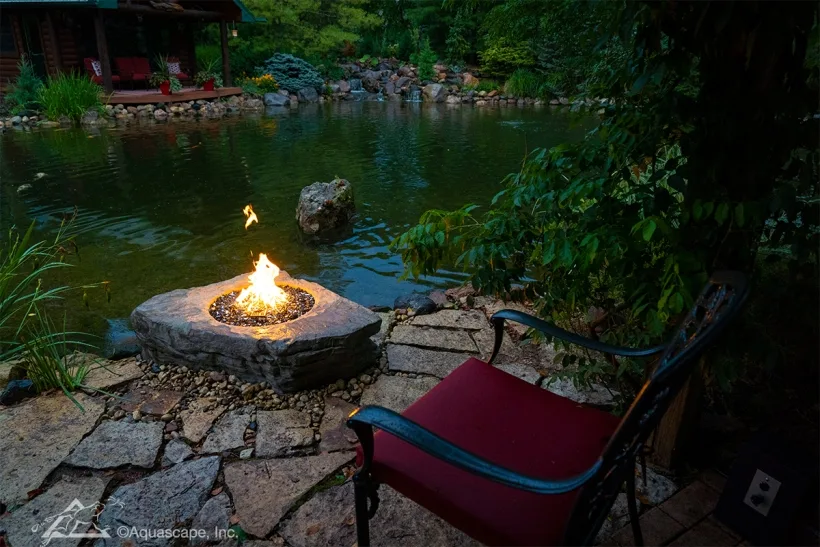
To keep the water moving, go the scenic route with a waterfall or install a small pump — this will also help keep the pond clean.

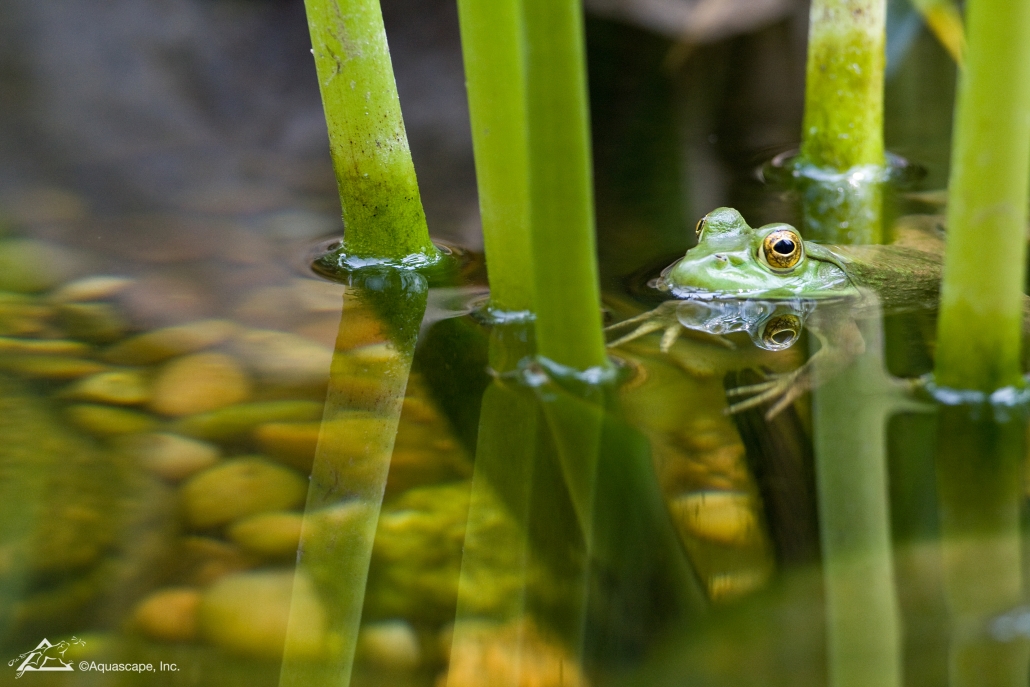
Bonus: Your natural oasis will attract wildlife (think dragon flies, birds, tadpoles.), which will help control pesky insects. To avoid snakes, the surrounding grass is kept as short as peach fuzz.

Does a swimming pond cost more than a pool?

The upfront payment is more expensive because of the regeneration zone, but the cost per square foot is about the same.

Thinking ahead, the initial cost pays off. Unheated natural ponds evaporate less than normal pools, don’t have energy costs, and you save around $350-500 on chemicals and chlorine.

water garden construction company

How much does a swimming pond cost?

The design you choose plays into the overall cost of installation!

Is it maintenance-heavy?

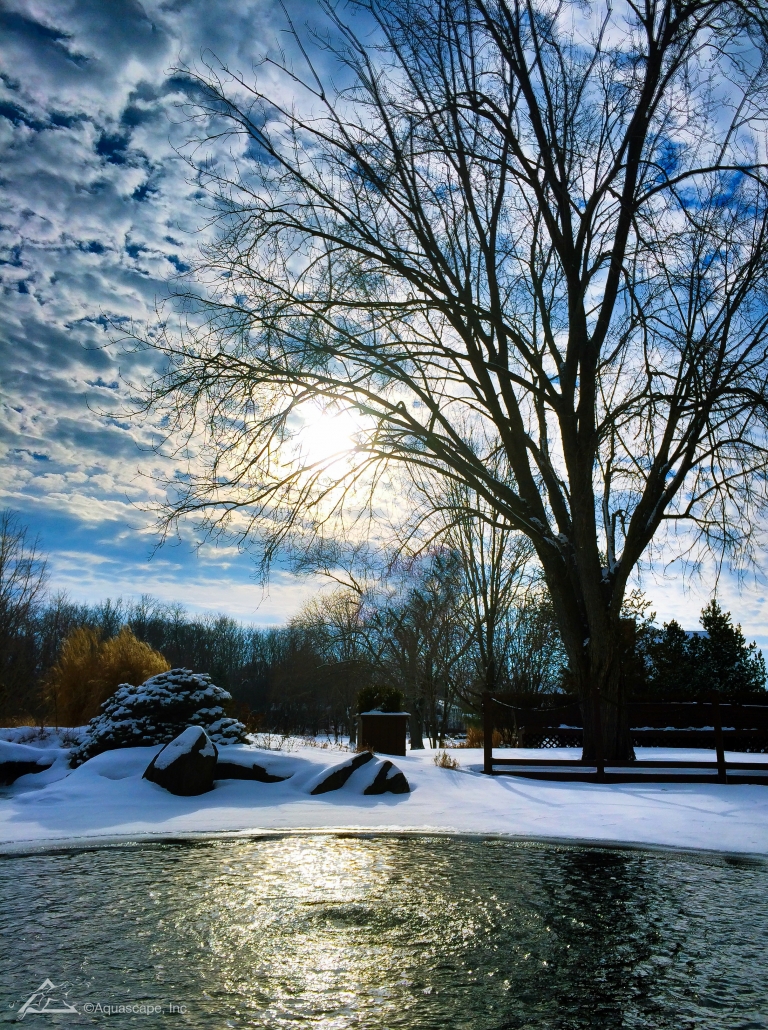
According to Aquascapes, a pond requires less maintenance than a pool. You don’t have to worry about chemicals, the pond essentially cleans itself, and you can keep it uncovered and full during the winter (ponds make great ice-skating rinks).

Tend to it as you would a garden — and make sure the surface is skimmed.

frog in aquascape

Is this really something people are doing?

While the trend is still developing in the U.S., Europe is all over natural swimming ponds and pools. The idea originated in Austria and Germany in the 1980s and has evolved from there. Last month, the UK unveiled its first man-made public swimming pond in London!

Long stream with multiple waterfalls flowing to a beautiful pond

Low Maintenance Water Features for Ponds

Pondless® Waterfalls

The hottest tread in landscaping!  We have the equipment available for the do-it-yourself installer or the pro installer who wants to purchase and install a Pondless® Waterfall.


What is a Pondless waterfall?

Yes it is what you think it is a waterfall with no pond and no fish.  You know not everyone wants a pond with the maintenance of plants and fish but everyone enjoys a great looking waterfall with the serene sound of water to ease the tensions of our busy workdays.

Advantages of the Pondless Waterfall

  • Fits into small spaces.
  • Perfect for people where child safety or the liabilities of a pond may be a concern.
  • Virtually maintenance free!  Simple refill the reservoir every week or add water automatically with an auto fill valve.
  • Great alternative for a front yard pond.
  • No ecological need to run the system continuously.  Can be shut off with a timer or shut down during vacation time.
  • No fish to maintain or be concerned about.

What would I want a Pondless® Waterfall?

Do you have memories of a gorgeous mountain stream and waterfalls you saw as a child on your walks in the woods?  You can still hear the water as it gushes over the rocky stream and hits against the wet rocks.  Imagine that you can receive this picture in your very own backyard.  It’s perfect for those who want the sound of water but not the maintenance of a pond.  If you live in the Ohio Valley area, call Meyer Aquascapes for an estimate 877 780-1174.

Where does the water come from and where does it go?

A Pondless waterfall actually works much like the equipment in a pond.   A basin, usually deeper than a pond, is dug and then underlayment and liner is put down in this basin.   Then we figure up how many matrix boxes you will need according to the size of the basin.   Water Matrix boxes are snap together sides that form a spacer in the basin and these spacers allow your basin to hold more water in the basin.  This means less maintenance of filling because of evaporation loss while saving on the amount of boulders in the basin.  You can hold up to 7 times more water.  Matrix boxes are essential equipment in order to have a basin large enough to accomodate the stream.

The basin also hold a Pump Vault which houses the pump and check valve, centipede which helps direct the water to the pump.  We do recommend that you order extra underlayment so that you can wrap the matrix boxes and/or cover them so that the rock and gravel will not fall through.  Then the rock is placed on top of the water matrix boxes and topped with decorative gravel.

The pipe is connected to the pump and heads up hill to the waterfall box.  This box aids in the ease with designing a waterfall.  The liner of the stream is attached to this box and you build your waterfall and stream from here.

So as an overview, your pump housed in the pump vault which pumps water up to the waterfall box which then flows down the stream into the basin and completely re-circulating system.  Since the water level in the reservoir basin never pools above the level of the rock and gravel fill, it gives the appearance of a Pondless® Waterfall.

Pondless: Winterizing Pondless Waterfalls

This is very important information.

It has been recommended by the manufacturer that those of you who live in Zone 1 (very north) to Zone 6 (parts of the east, Northern parts of the south, mountain areas) should remove the pump in the Pondless. And if you have a checkvalve, release the checkvalve from the pipe and then remove the pump with the checkvalve attached.  If you leave the pump in the skimmer and want to turn it off, don’t forget to disconnect the check valve (if you have one) from the pipe. Check valves have been known to freeze causing a leak in the spring which makes the falls appear to have a lot less water flowing. This also assures you that the pipe has been emptied.

Hint:  It is not always necessary to use a check valve with the pondless system. The pipe can directly connect to the pump.  Some of the older systems do have check valves so check your system to see whether you need to disconnect or not. However, if you have a long stream and a powerful pump, you may want to install a check valve which keeps the water from back flushing your system which could damage the impeller of the pump.

Pump should be submerged in water in an area that will not freeze.

If you leave your pondless running, and I know it can create beautiful ice sculptures but you will have to replenish the water very often. You lose more water in the winter than in the summer. If your pondless gets low, it will suck the pump dry and will damage it.

If you live in milder areas of the country, you can just disconnect the check valve  from the pipe and leave the pump in the water as long as the freeze line will not reach the actual pump.  If the pump would freeze it could damage to the pump and will cause the check valve to crack.  It is best sometimes to make the decision early so you are not dealing with a frozen basin.  The checkvalve will freeze first since it is close to the surface.

So in a nut shell, the advice is to shut the pondless down and remove the pump in all climates except those that do not get below 20 degrees and where a freeze only lasts a few days. Remember when running, your basin still needs water.

Happy Pondering,
Aquascapes.com

877 780-1174
info@aquascapes.com

Troubleshooting Leaks in Your Pond/Pondless Waterfall

Does your pond actually have a leak?

You may not realize how much water can evaporate from a pond during the dog days of summer.

The midwestern states typically lose 1 to 1 1/2 inches of water each week. In Arizona for example, it is reported that evaporation rates are in excess of 3 inch a week.

These are averages. Some ponds may not experience evaporation levels this high, while other ponds with large pumps pushing high volumes of water or ponds with multiple waterfalls and lots of cascades and splashing on rocks, have higher evaporation rates.  The larger the pump gph the more water you can lose.

Do not try to investigate a leak if the ground is wet from a rainfall.

1. The most common leak is one that is created from low edges. Here’s a little secret,99% of all leaks are not due to a hole in the liner. Settling at the pond’s edge is the most frequent cause especially in new ponds. Look around the stream and waterfall for areas that have settled. Look for wet mulch or wet gravel along the edge.

How to fix a low edge?

Simply build back up by backfilling and compacting the soil beneath the liner. Thus raising the edge of the liner above the water level.

2. Look for obstructions in the stream and waterfalls. If you have adjusted some of the rocks to improve the look you may have caused some of the water to be diverted over the liner. Also look for excessive plant or algae growth in the stream allowing water to make it over the edge. If you use Hyacinth in the biological filter, remove some occasionally as the volume of plants raises the water level and will allow some water to leak over the back or side edge of the BioFalls.

3. Can’t find the leak yet?

Shut down the pump and leave it for 12 or more hours. After 12 hours check to see if the water level has dropped. We recommend you use a small aerator to provide oxygen to the fish.

If it has dropped, you now know the leak is in the pond. If it remains the same, it is in the stream or waterfall.  Read on..

If the leak is in the pond.

Leave the pump off and wait until the water level stops dropping. This could take several days. This will determine the height of the leak. If the water level stopped below the bottom of the skimmer face plate, you can rule out the skimmer and concentrate elsewhere. If the water level is above the bottom of the face plate, you should investigate the skimmer. It may have not been sealed properly or if sytem is over 5 years old, it may be time to reseal the skimmer to the liner. But don’t tear apart the skimmer face plate yet.

If the Leak is in the Skimmer.
At this point you may want to call the contractor who installed the pond. However, if you are brave enough to search further, then read on.

Investigate the skimmer face plate without disassembling it. Simple move a few rocks around the front of the skimmer and slide you hand behind the liner. Feel for wet soil around the opening of the skimmer.

If it is dry, it is most likely not the skimmer.

–If the soil is saturated, then the face plate may NOT have been installed properly and might be the source of the leak.

–Remove the face plate, clean all of the old silicone off the liner with a plastic scrubber and refer back to the instructional manual on proper procedures for sealing the skimmer face plate to the skimmer. Use Black Silicone to seal the skimmer to the liner.

If it’s not the Skimmer.

Investigate the liner for small punctures around the perimeter of the pond where the water level has stopped.
The only way to find this type of leak is to move rocks and gravel and search by hand and eye. If the leak is found, you can fix it using the Patch Tape.

Is the leak in the Biofalls or Waterfall?

If your water level did not drop over the past 12 hours, this immediately tells you that the pond is not the source of the leak.

First, turn the pump back on and get the water flowing.
Double check that all the edges are high, and any stream liner overlaps into the pond properly. Or if you had installed with liner seams, check this area out.

Check the seal on the lip of the Biofalls. Again, simply move a few rocks and dirt if necessary to allow your hand to slide behind the liner. Feel for wet soil.

If it is dry, it is most likely not the Biofall seal to the liner.

If it is saturated, or you feel water leaking, then the lip needs to be resealed.

Cause of leaks at the Biofall seal.
1. Seal was done incorrectly or the liner was stretched or pulled too tight while setting rocks for the waterfalls. Also, after 5 years, it is possible your seal has deteriorated and needs to be taken apart and resealed.

2. Always make sure you allow some extra liner along the front of the Biofalls to prevent stress on the Biofall seal.

If necessary, reseal the Biofalls by removing the lip. Clean all of the old silicone and waterfall foam off the liner and refer back to the manual as to the proper procedure for sealing.

Still can’t find the leak!

Investigate the rest of the stream and waterfall. At this point, you should be looking for a hole in the liner.

If you have a long stream, you can divert the water using a hose and begin running water from the hose down the course 5 feet from the pond. Watch the water level, if level has not dropped then move the hose 5 feet more up the course. And you do this until you see a drop and can isolate the leak to a specified 5 foot area.

Still can’t find the leak, are you sure it was not evaporation. Just kidding, of course. It may be time to call that contractor.

Hope you find that leak!!!

Aquascapes.com

Pond Management – Spring Start Up of Your Aerators


If you turned your aerator off and stored it for the winter they are a few quick steps you can take to have your aeration system prepped and installed for the spring. If your winter has been anything like ours, spring already seems upon us.

Here’s 4 ways to prep and install your aeration system for spring.

1.)  Change the air filter: The air filter is vital for providing clean air through the compressor. With a clogged air filter, performance diminishes and over time can cause irreversible damage to the compressor. We recommend changing your air filter every 3-6 months depending on the environment.

2.)  Check for Air: Before installing the unit and connecting airlines it is best to do a quick check for air. Turn the unit on and ensure air is coming out of the flex hose(s). If you have a multiple diffuser plate system, make sure that the valves are not completely shut off. In the event where air is not coming from the flex hoses, you may need a maintenance kit to replace the diaphragm.  Call 877 780-1174 for more information and pricing on replacement parts.  Some newer diffusers are self cleaning.

3.)  Reinstall the unit: To reinstall the unit, you’ll want to re-position the cabinet so it is sitting level, reconnect the airlines and plug it in. Adjust the airflow as needed, which you’ll need to do anyway if you have multiple diffuse plates. Adjust the flow so each air plate receives equal amounts of airflow and keep in mind that longer runs and deeper plates will require more airflow to operate than shallow plates and shorter lines. It usually takes a few minutes between adjustments to see the effect at the diffuser plant, so be patient!

4.)  Proper start up: Introduce your aeration system slowly in the beginning, and gradually increase its running time each day. Start by running it for an hour the first day, two hours the second day, doubling the amount of time each day until you can successfully run it for 24 hours. If you run the system immediately for 24 hours upon returning it to the pond, you could cause the warm and cold layers of water to mix too quickly which may harm fish.

These quick steps will ensure your aeration system is back up and running to keep your pond clean, clear and healthy for years to come.

Have a question? Ready to install? Contact us below!

7 + 1 = ?